Hey Guys!
It feels like forever since I did a little nail tutorial! But fear not, I am back with an ombre nails photo tutorial. It took me forever to find how to do these. Although I’ll admit it’s not as if I actively searched ‘Ombre Nail Tutorials’, I feel that may have very much aided my search. But Hey Ho! Here’s Row Bow’s tutorial, far superior to any other photo tutorials out there!
You will need:
– 2 contrasting tones of nail polish
– Clear Coat Nail Polish
– Un-used plastic wallet
– Cocktail stick
– Un-used Sponge
1. Protect nails with a clear coat. (OBVZ)
2. Apply 2 layers of the paler colour nail polish you are using. I have BarryM Papaya.
3. This is where it gets technical kids! Apply a couple of drops of each nail polish next to each other on the plastic wallet. See my very little example in the photo below.
4. Then use the cocktail stick the very slightly marble the two colours where they join. So until they blend into one another.
5. Grab the sponge and place a clean part of it into the slightly marbled polish mixture.
6. Lightly press the sponge over your nail being mindful of where you want the blend of colours to be. If you press down the colour just doesn’t appear to transfer. I like wearing the darker colour at the top of my nail.
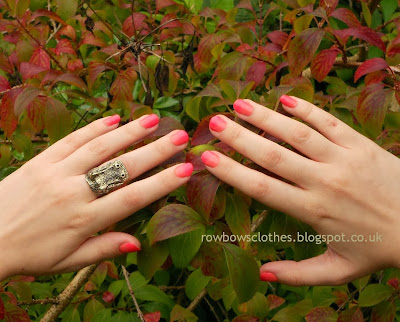
7. Boom! Ombre nails, or ombre nail if you’ve not repeated the process 9 additional times yet!
I also crated these ombre nails on my sister. Perhaps another colour way suggestion?
Fun Idea: Why not ombre the colours the opposite way round on your ring finger, for a little ring-finer manicure?
Glad to be of service!
Oodles and Toodles
Row Bow
x


